

Learn how to make thick and creamy goat milk yogurt that’s way better than store-bought in this simple hands-on tutorial.
If I could only make any one dairy product for the rest of my life, it might be yogurt.
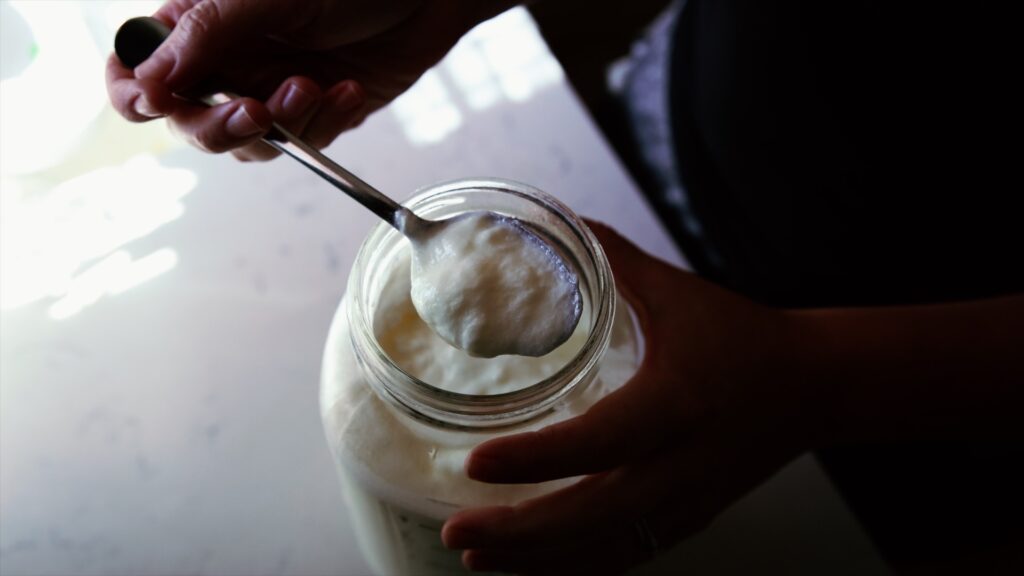
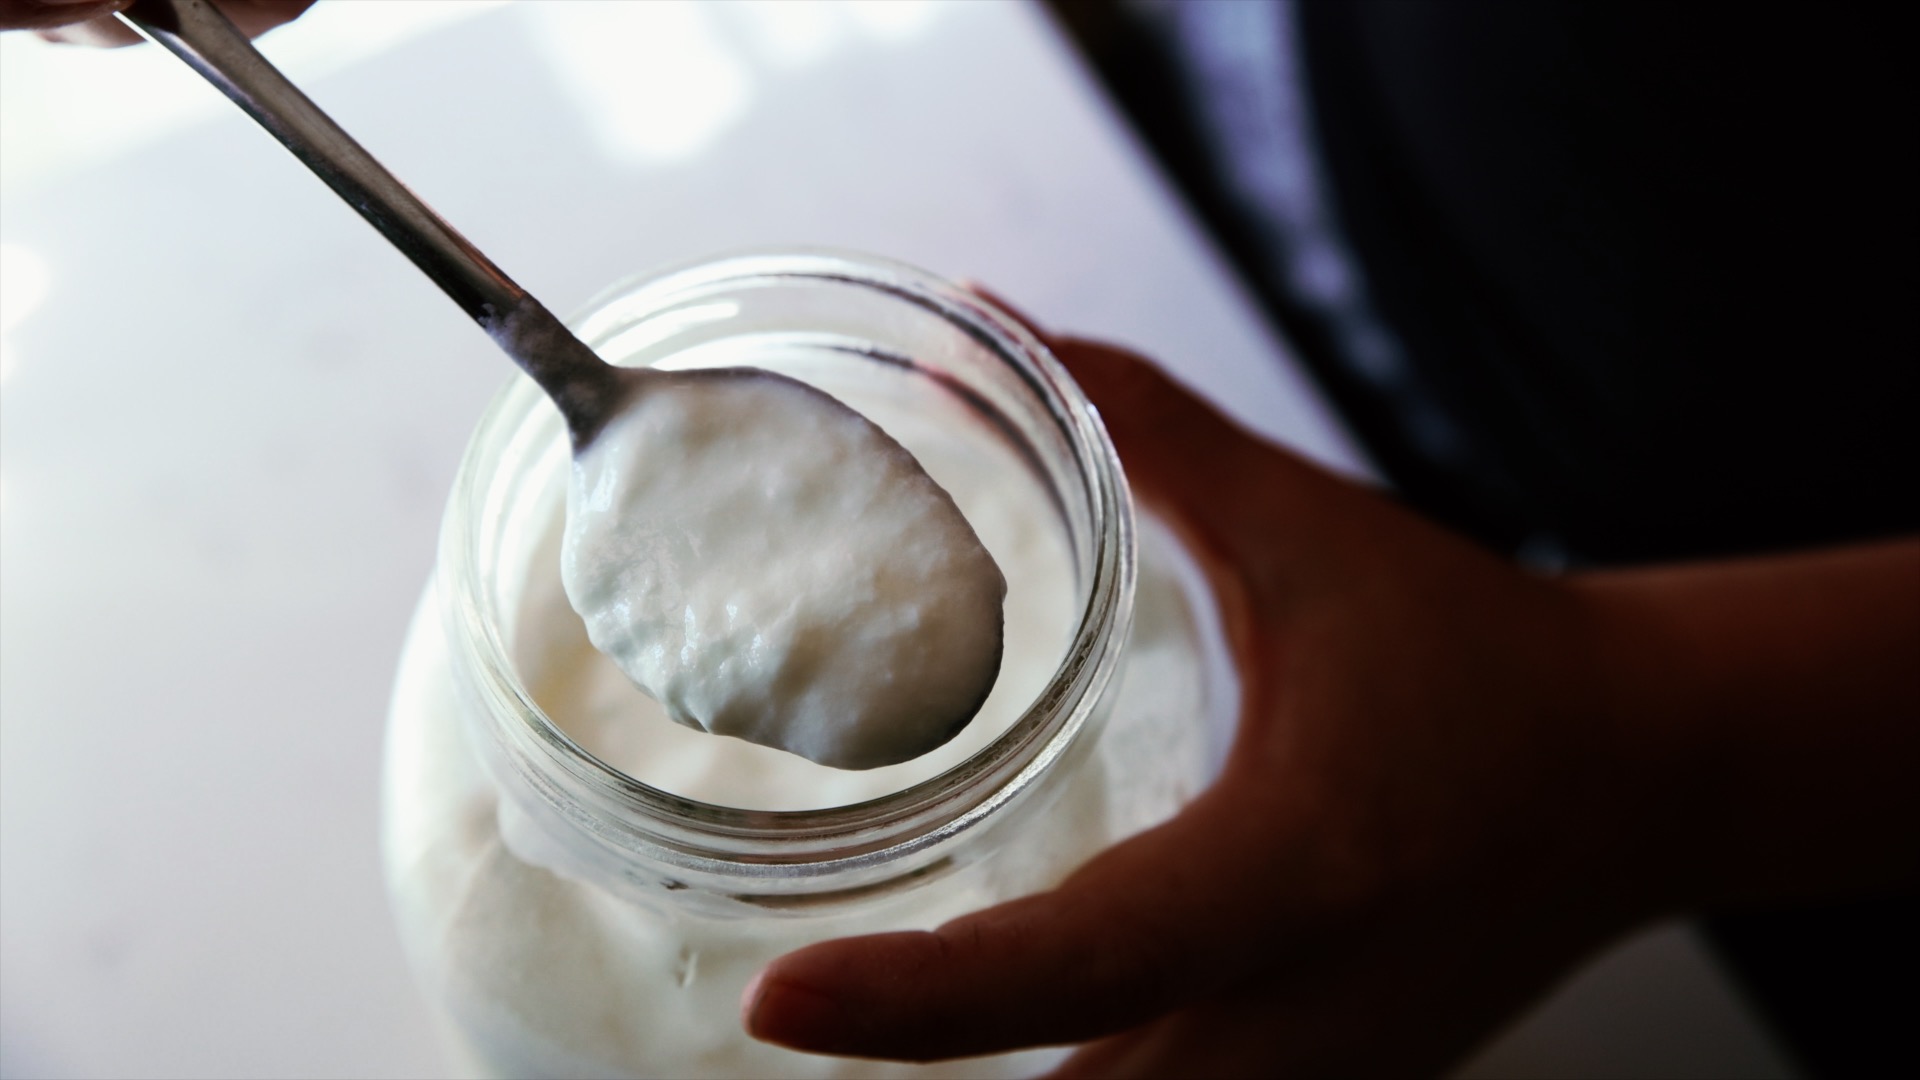
Homemade yogurt, particularly goats milk yogurt, is about a million times better than store bought! It is rich and creamy, and you can control the amount of tang and how thick it is too by how long you let it culture for, and whether you strain it or not. Goat milk is naturally homogenized, which makes goat milk yogurt especially creamy without even needing to blend it.

What Cultures Do You Use to Make Goat Milk Yogurt?
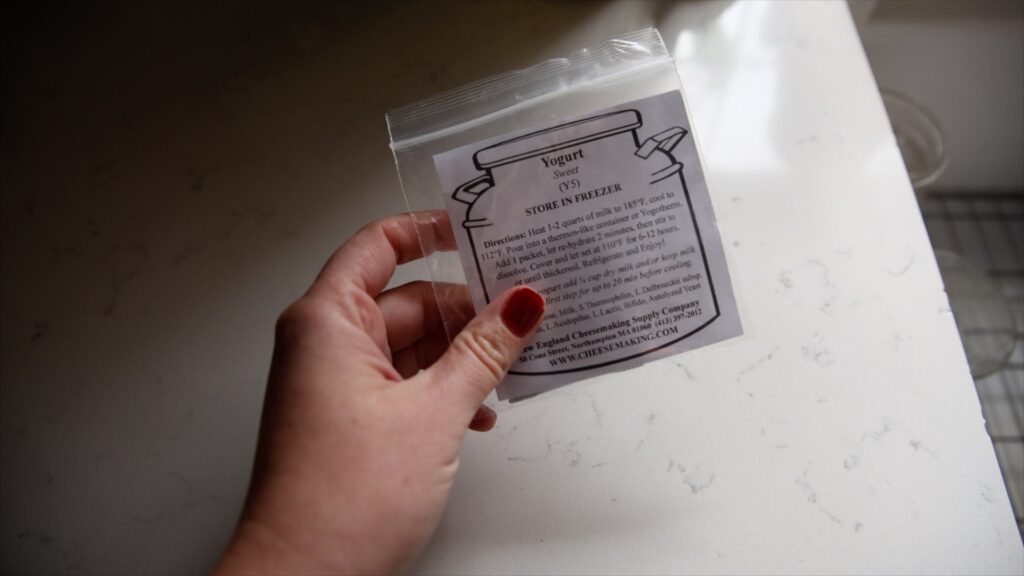
Homemade yogurt can be cultured with yogurt bought from the store. You just need to be sure the only ingredients are milk and live and active cultures, and there are no gums or thickeners. I did that successfully for years. However, I have found that it takes time to build up a strong culture that will consistently result in a thick yogurt using store-bought yogurt for your starter. It can be demoralizing to use a half or full gallon of milk and end up with runny yogurt. This is why I prefer to use a freeze-dried culture from New England Cheesemaking instead.
I like their Sweet Yogurt culture. It produces a thick yogurt right away, and then I can use some of that yogurt to culture the next batch. I simply continue to save back yogurt to culture each subsequent batch, and can keep this up for for months on end! I keep the freeze dried culture in the freezer, just like my cheese cultures. And if for some reason my yogurt culture gets contaminated (oops. Sourdough and other ferments can definitely cross-contaminate yogurt!) or if an unaware family member eats it (yep. this has happened more than once), I can start fresh with the packets of culture saved in my freezer.
Maintaining a strong culture is important. I find that the best yogurt I make is cultured with yogurt from a previous batch that is less than a week old. However, if your family won’t go through yogurt that quickly or you don’t wish to make it as frequently, there’s still hope. You can always freeze some of your yogurt in ice cube trays to be defrosted and used to culture your next batch.
Note: I do not recommend Cultures for Health yogurt starter cultures. Nothing against this neat company, but none of their yogurt cultures have ever worked well for me, and my fellow milkmaid friends have all had similar experiences.
How Do You Make Goat Milk Yogurt?
There are many ways to make yogurt. You can use an instant pot, a stovetop, a dehydrator, or even simply in a warm spot like an oven with the light left on or in a toasty spot of the house. My favorite way to make yogurt is in my dehydrator.
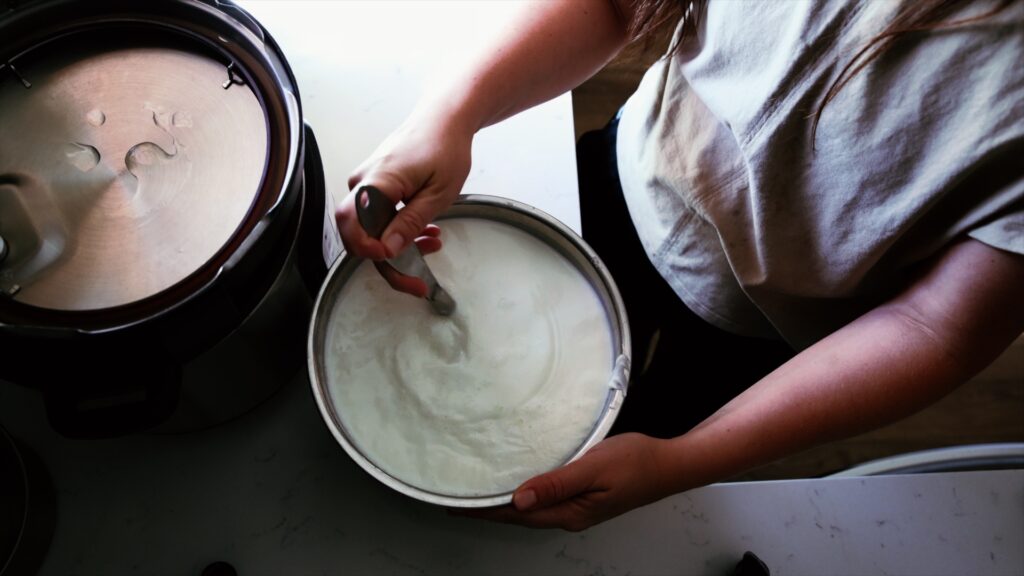
I find that the dehydrator maintains temperature during the culturing period so much better than my instant pot used to. My yogurt tends to end up much thicker when I do it this way! I still like to scald the milk in the instant pot, since I don’t have to babysit it with a thermometer. But you can easily scald the milk on the stovetop instead. Then I cool the milk before stirring in the culture and adding to jars. The jars then incubate in the dehydrator for a few hours. After the yogurt has cultured for as many hours as you prefer (anywhere from 4-12 is typical), you can pop it back in the fridge and eat it as is, or strain it for more of a “Greek yogurt” texture.
Can You Make Raw Milk Yogurt?
Some people make truly raw milk yogurt, without scalding it. I prefer not to do this to ensure I get consistent results and a good, thick yogurt. The purpose of scalding is not to get rid of “bad” bacteria, as some might say. After all, the whole reason I have goats is because I want the benefits of raw milk in my diet! Scalding the milk doesn’t fully pasteurize it, but it does ensure that there isn’t much bacteria around to compete with the bacteria from our yogurt starter that we are going to inoculate the milk with. Scalding the milk just ensures that the yogurt starter has the room to colonize the milk and fully culture it, creating a healthy bacteria-rich dairy product that is delicious and absolutely wonderful for the gut!
Truly raw milk yogurt that hasn’t been scalded will typically end up thinner than yogurt that was made by scalding.
Why Make Yogurt At Home?
Have you seen the price on quality yogurt in stores these days? We ran out of yogurt once, and it just so happened it was on a day where I was expected to provide frozen yogurt for my daughter’s birthday party! Oops. Anyway, I ran to my local grocery store and spent a whopping $10 on a quart of watery goat milk yogurt. It didn’t even taste that great, and included thickening agents like pectin and arrowroot.
Homemade yogurt is not only cheaper, it’s so much better. Once you master the technique of creating the perfect amount of tanginess and thickness your family prefers, you’ll never want to go back!
How Long Does it Take to Make Goat Milk Yogurt?
The way that I make my yogurt, it takes me about 8 hours start to finish. But very little of that is actually hands-on time. You can also speed up the process by cooling the milk in an ice water bath instead of in the fridge!
The Process of Making Thick and Creamy Goat Milk Yogurt
Ok, now let’s move on to actual method of making goat milk yogurt that is truly thick and creamy without needing any extra thickening agents.
This method tends to result in consistently thick yogurt for me. When I make yogurt in the instant pot (a method I cover along with a couple others in my goat milk cheesemaking course, Beyond Chèvre), the texture can be hit or miss. I have a feeling it’s because my instant pot is on the older side, and might not maintain temperatures very well during the incubation period. Instead I like to incubate yogurt in my dehydrator.
If you don’t have a large dehydrator you can still make yogurt with this method. Just follow along with the steps up until incubating. Instead of moving your jars to a dehydrator for the culturing time, move them into your oven with the light left on to add warmth. You could also move them to a cooler and wrap the jars in towels, or add ziplock bags filled with warm water to the cooler to help keep the temperature around 110° – 115°.
The basic steps for making yogurt are the same, no matter which method you use. First scald the milk, then cool, then add your culture, then incubate. You can then strain it if you want to. Easy peasy!
- Start by pouring your milk into a pot on the stovetop. Make sure you have a thermometer so that you don’t overheat the milk! You want to scald the milk, not cook it. Bring the milk up to 180°F. Allowing it to sit at that temperature for 30 minutes or longer helps to achieve a thicker yogurt, so I usually leave it for a bit before cooling. Either way, after the milk has been scalded you will need to cool the milk back down to between 110°-120°F. This creates the perfect environment to allow the yogurt culture to thrive and multiply. Too cold and it won’t work; too hot and you’ll kill it. I find 115° to be the sweet spot.
- To cool the milk I prefer to place the pot directly in the fridge and cover loosely with a cloth or saran wrap (nothing that’s been used for sourdough, as the yeast can cross-contaminate!) for about an hour to an hour and a half. You could also set the container of milk inside a sink filled with cold water if you want to cool it faster. If you find that your milk has cooled too much, just reheat it on the stovetop until it reaches about 115°. You may find that a “skin” has developed on the milk from scalding. Just peel it off as best you can, and stir in what you can’t.
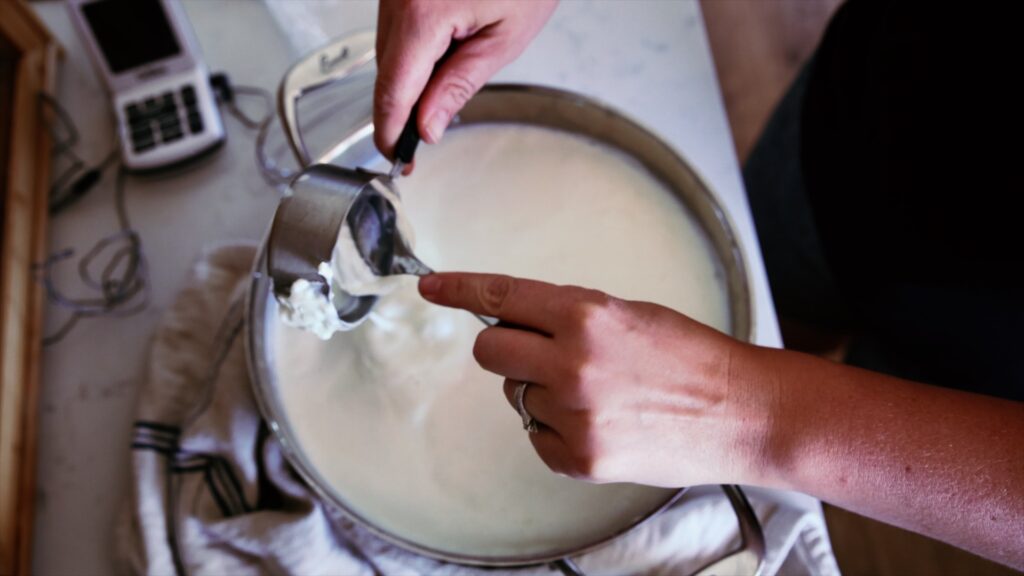
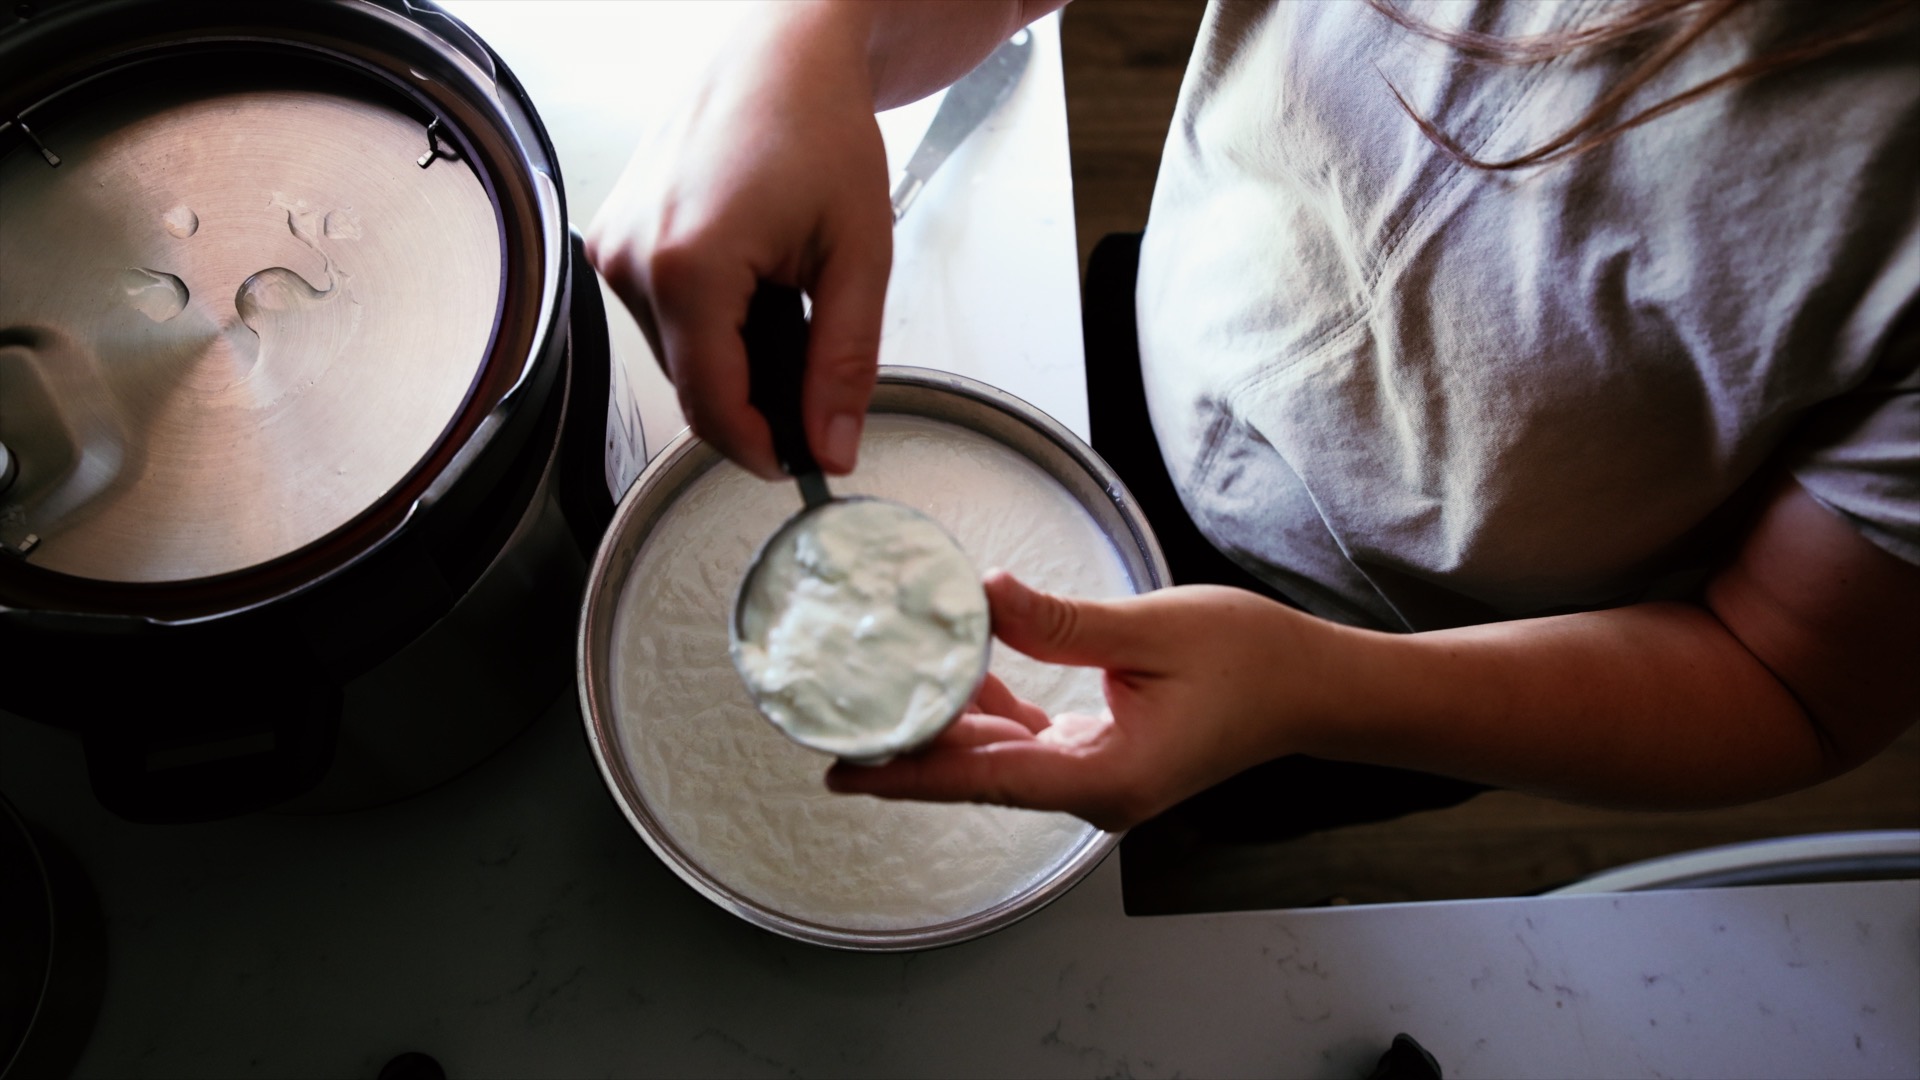
- Once the scalded milk has cooled to 115° or thereabouts, stir in your yogurt culture. If you are using a direct set packet of freeze-dried starter, sprinkle it as evenly across the top of the milk as you can and allow it to rehydrate for a couple minutes before stirring it in thoroughly. I recommend 3 packets of Sweet Yogurt Culture for a gallon batch, and 2 for a half gallon. If you are using yogurt from the store or a previous batch, use a whisk to mix it in as thoroughly as possible. 1/2 cup of yogurt per gallon of milk, and 1/4 cup for a half gallon.
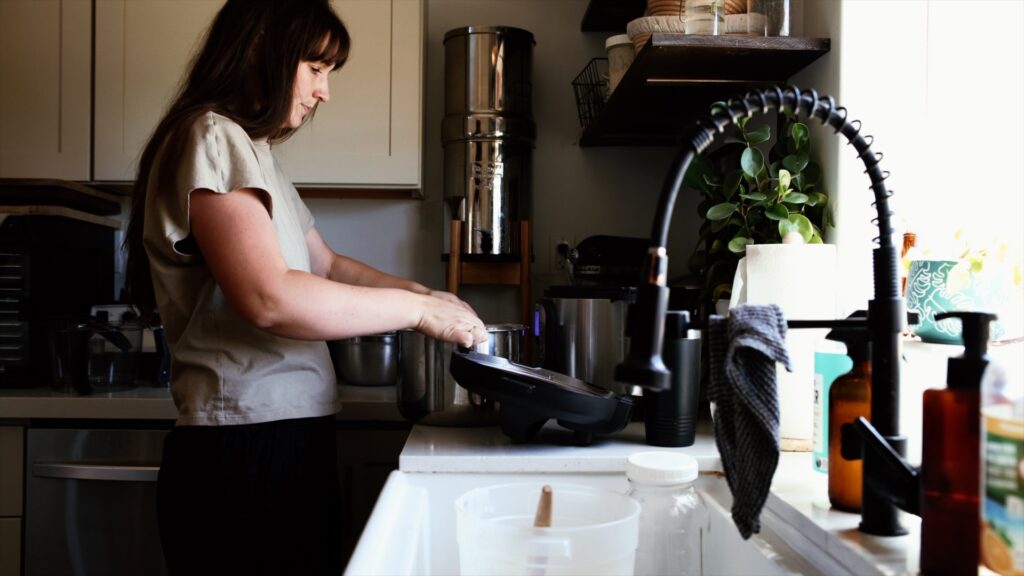
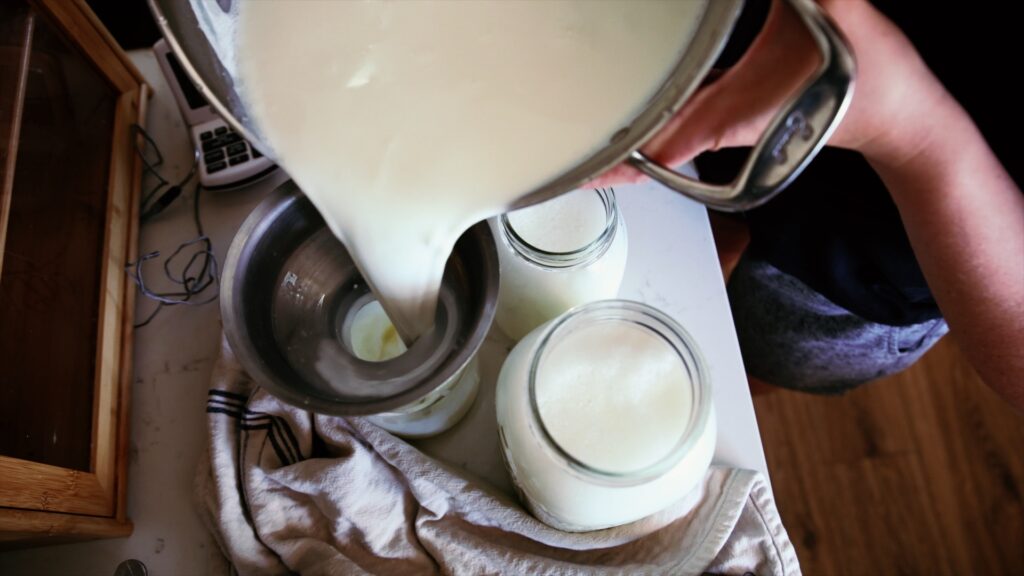
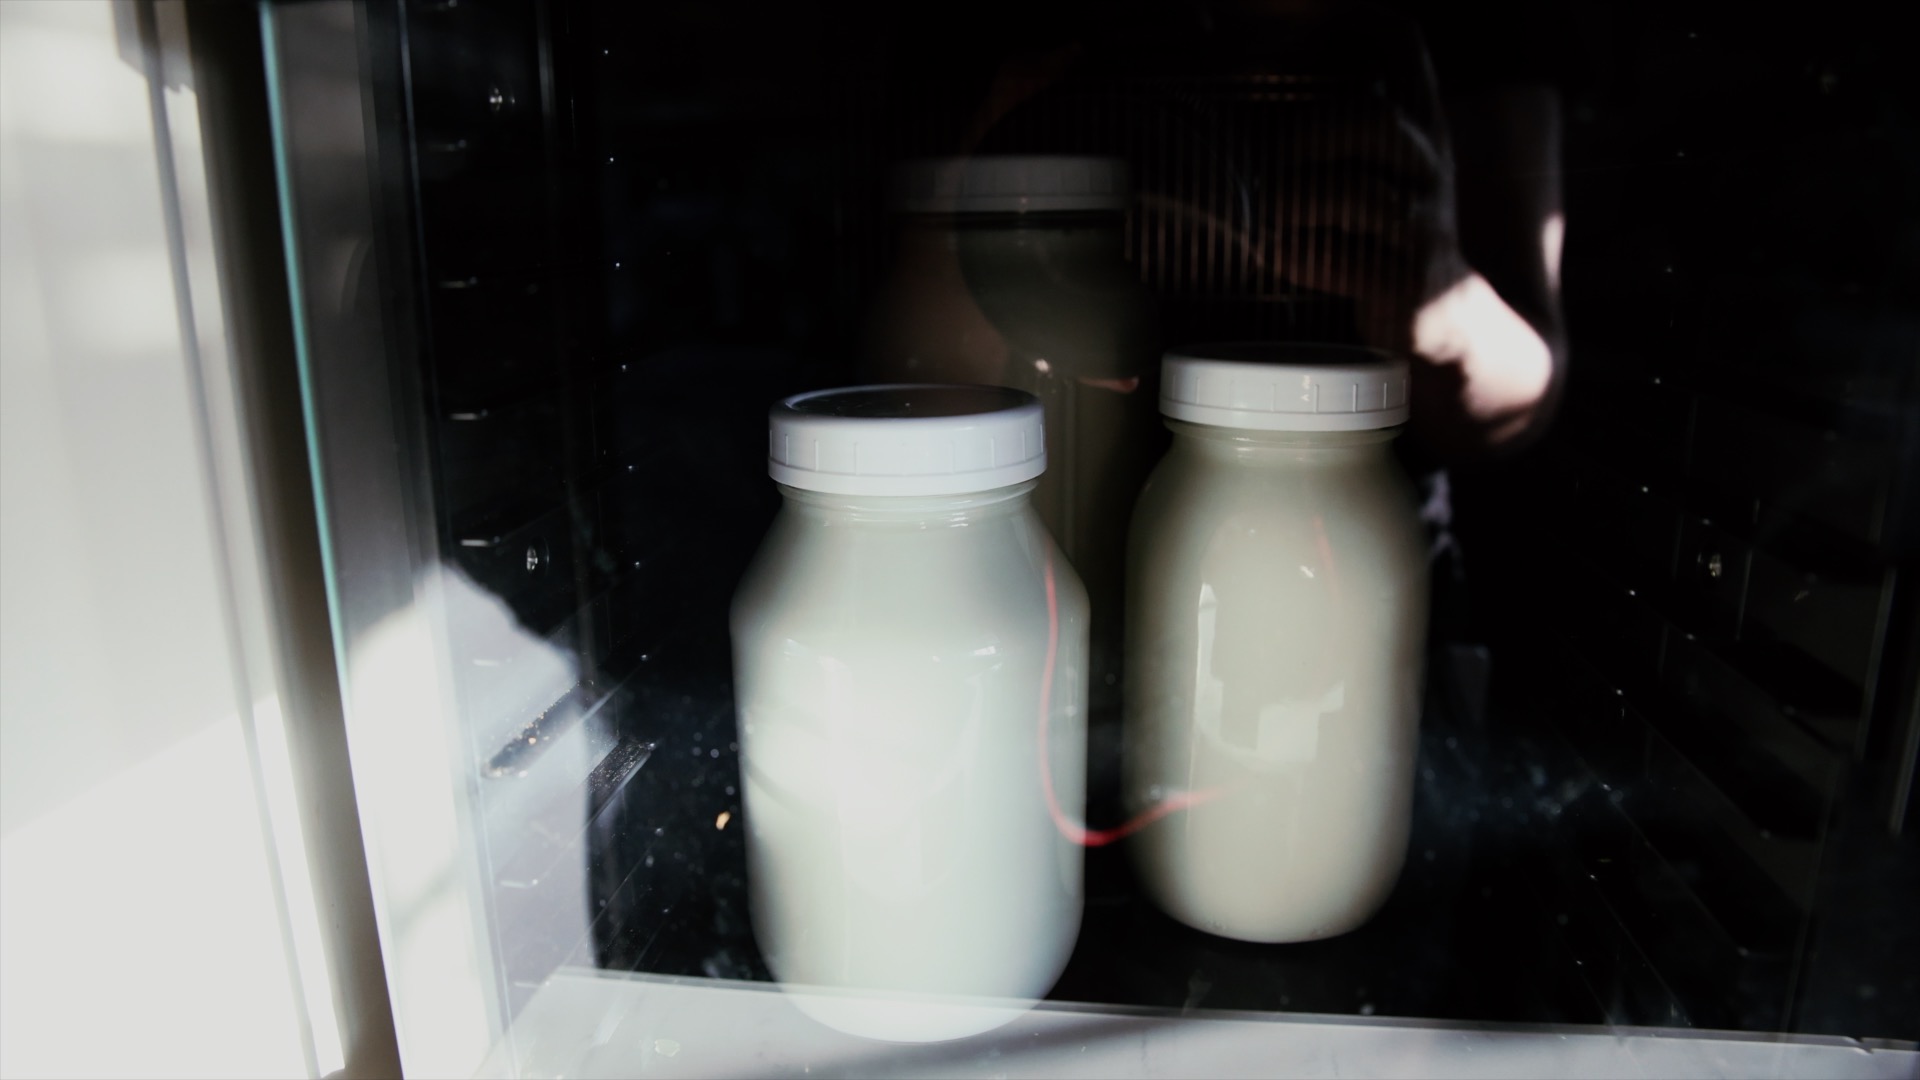
- Once the starter is mixed into the milk, pour the mixture into glass jars, cap them, and place them into a large dehydrator with the trays removed. I have a Sedona Express from Tribest and both gallon and half gallon jars fit just fine. If you don’t have a dehydrator that can fit jars or select a custom temperature setting, you can place your jars into an oven with the light on. Another method is to place the jars into a cooler and wrap in blankets or towels. Play around with it and find the best option for you!
- The longer the yogurt sits, the more sour it will grow. My family prefers around five or six hours of culturing. You can experiment with the length of time and see what your family likes best.
- After the milk has cultured, you should be able to open the jars and find a thick and creamy, tangy-scented batch of yogurt! You can now either move it directly to the fridge, where it will thicken slightly after cooling, or you can strain it to achieve more of a “Greek Yogurt” texture.
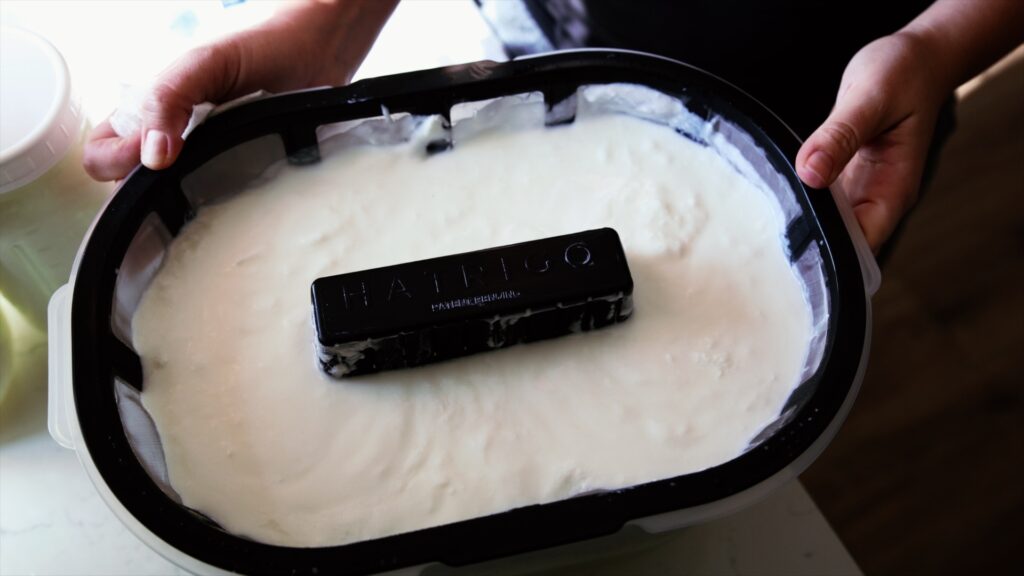
- I like to strain yogurt in either a strainer with a muslin cloth fitted over it, or in a strainer designed specifically for yogurt. Either way I strain the yogurt in the fridge. If you do not strain, you will have as much yogurt as you did milk, gallon for gallon. When I strain my yogurt for 12-24 hours I lose about a quart to a half gallon of whey, but I get a much thicker yogurt that we really enjoy. We use the whey to make popsicles, soak grains, cook rice, or feed the chickens and pigs.
- If you decide to strain the yogurt, all you have to do is place a large colander over a pot or a bowl, and line it with butter muslin or a thin tea towel (again, nothing used to wrap sourdough in). Pour the yogurt into the lined colander and cover with a towel or saran wrap, and let it sit in the fridge and strain until it reaches your desired consistency. You can also purchase a cotton drawstring bag used for making nut milk, or a designated yogurt strainer with a lid and try that out too!
A note about the yogurt strainer with a lid:
I love this thing. Seriously. It makes straining yogurt a million times easier. No more accidentally upsetting a colander precariously perched inside of a mixing bowl inside of the fridge! It’s a genius invention and I use mine multiple times a week. I do have one little trick for making sure your yogurt doesn’t all fall through while straining.
Sometimes when yogurt first comes out of the instant pot or dehydrator it can be a bit runny. If your starter is strong this is just because it’s still quite warm. When you move it to the fridge it will firm up a lot. You may find that if you pour the warm yogurt straight into the yogurt strainer the yogurt itself will run through together with the whey. This can be really frustrating! If this happens to you, instead move the jars of yogurt to the fridge for several hours or overnight. Once it has completely cooled it should be firm enough to put into the strainer without running through.

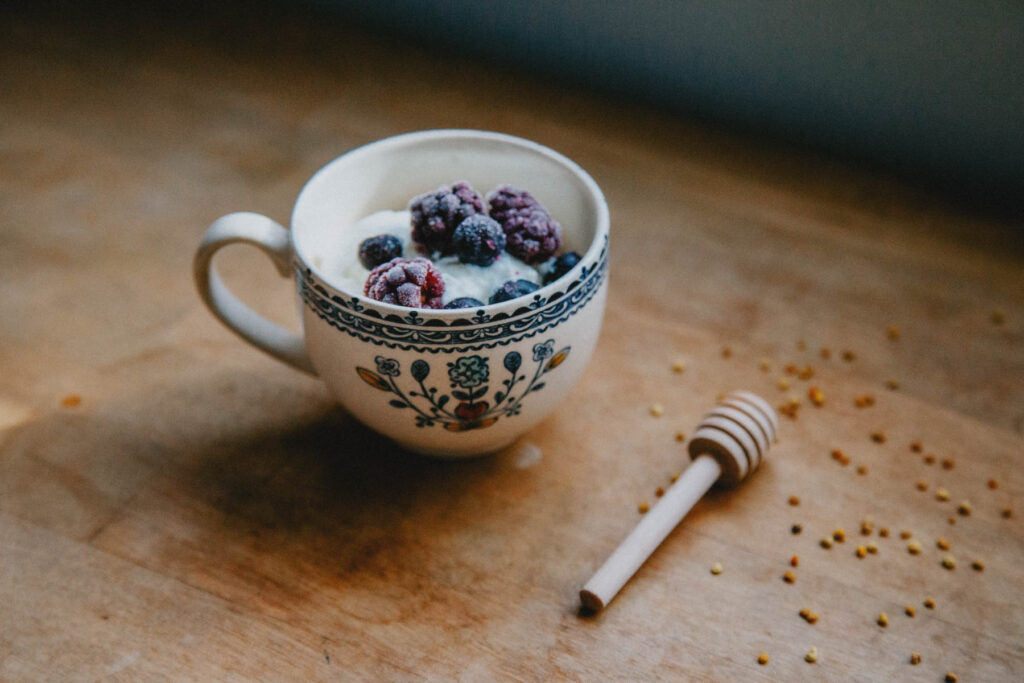
Making homemade goat’s milk yogurt really is as simple as that! We love to eat yogurt parfaits for breakfast, or prepare little yogurt cups in half pint jars with jam on top. This creamy yogurt makes delicious smoothies or froyo, and we often use it in place of sour cream too!
I hope you enjoyed this simple tutorial for thick and creamy goat milk yogurt! If you try the recipe I’d love to hear how it turned out. Leave a comment below, or tag me on Instagram! @nest.in.the.west.
You can check out more farm fresh blog posts below, or learn about goat milk cheesemaking in my course and ebook, Beyond Chèvre.


