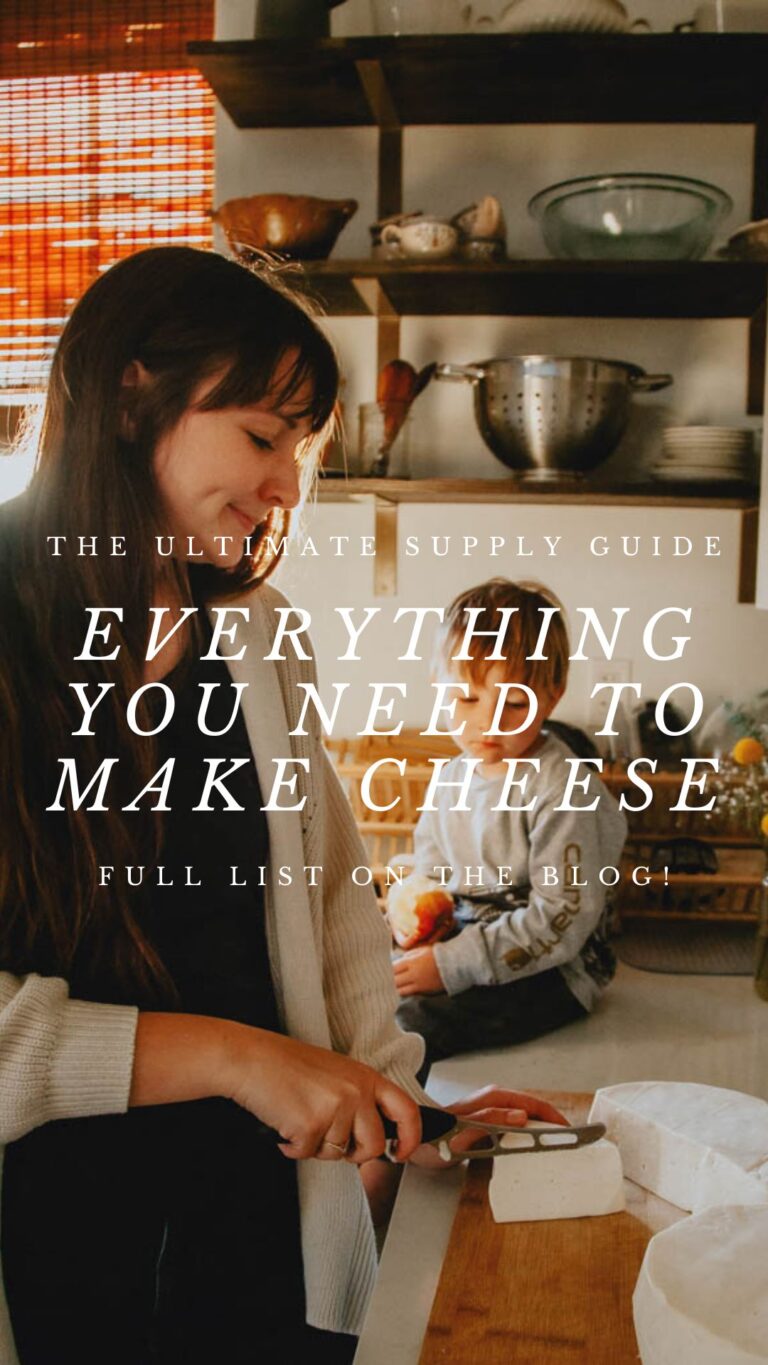

Learn which tools you need to get started making cheese in your kitchen with this tried and true cheesemaking supply guide.

What Supplies Do You Need to Make Cheese at Home?
Making cheese at home is simpler than you’d think! With a pot and some milk and a few other basic supplies you’ll be well on your way to making your first wheels of cheese in your kitchen. My homestead cheesemaking supply guide has everything you need to get started.
This list is by no means comprehensive or the only way to do it. There are many different methods of making cheese, some almost impossibly simple and others requiring precision and finesse to achieve. The same can be said for equipment. You can save money and make do with what you already have in your kitchen or invest in quality supplies as you go. Simply put, cheesemaking doesn’t have to be expensive. It’s as complicated as you choose to make it. That said, there are some supplies that will make your foray into cheesemaking easier and allow less room for error. I’ve compiled a list of the supplies I use every week to stock my fridge with homemade goat milk cheese so that we never have to buy cheese at the grocery store!
As a busy homesteading, homeschooling mama, making cheese needs to be simple for me to fit it in. My cheesemaking tools need to be streamlined and hold up to frequent use too. Here’s my list of tried and true cheesemaking supplies!
Ok, let’s be honest, you can make cheese at home with fewer items than you’ll find on my list. After all, if Ma Ingalls could make cheese in her little log cabin in the woods, you can do it with a minimalist set up in your kitchen!
Some of these items are necessities, some are nice-to-have’s. I tried to include plenty of ideas for DIY’s and budget-friendly options too! If you have a cheesemaking supply hack you love, or a simple way to make do with what you already have, I’d love to hear it!
I almost forgot to mention – this list is a peek into one of the chapters in my goat milk cheesemaking ebook and course, Beyond Chèvre! I’m giving you a free sneaky-peek just for fun. I hope it will be helpful whether you end up using my recipes to make cheese or not. I also share free cheesemaking videos on YouTube, and more cheesemaking content plus homestead life over on Instagram.
Ok, now let’s get to that list, shall we?
Some of these links are affiliate links, which may provide me a small commission at no extra cost to you.
The Ultimate Cheesemaking Supply Guide
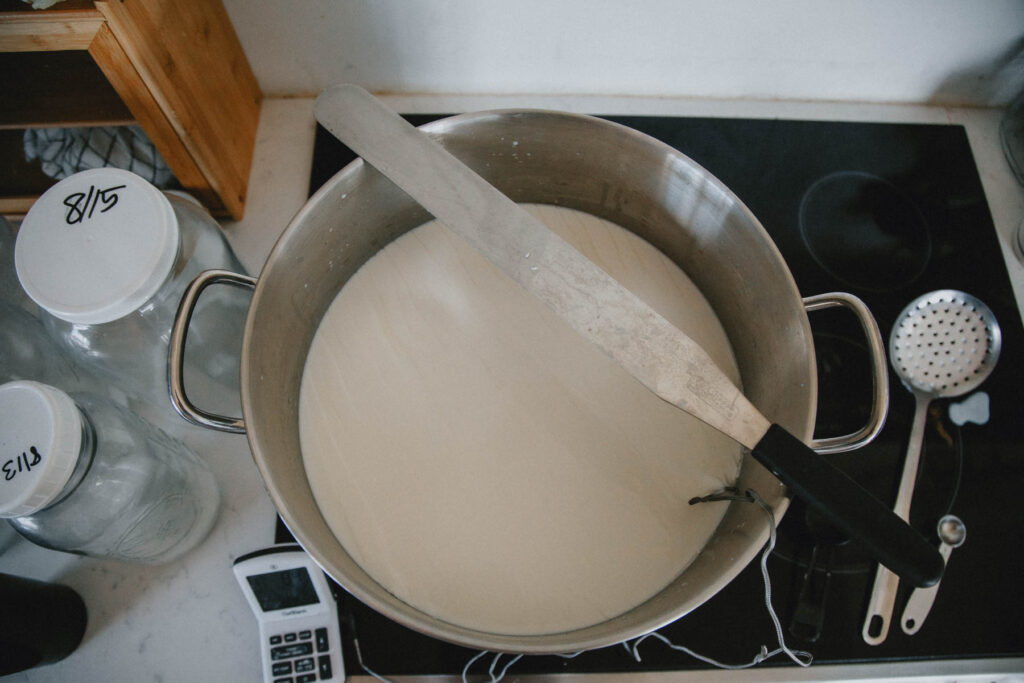
1. A Heavy Duty Pot
You can’t make cheese without a pot! Make sure there’s enough room for as many gallons of milk as you plan to regularly make cheese with. Mine is a 24 quart triple ply stainless steel stock pot. I found it for a great deal at Costco, and it has held up beautifully. Previously I had a 36 quart pot I found inexpensively online. But the bottom was thin enough that it cracked pretty quickly. The pot I have linked is the same one I found at Costco a few years ago. You could use any size non-reactive pot, so long as it fits enough milk for your cheesemaking needs!

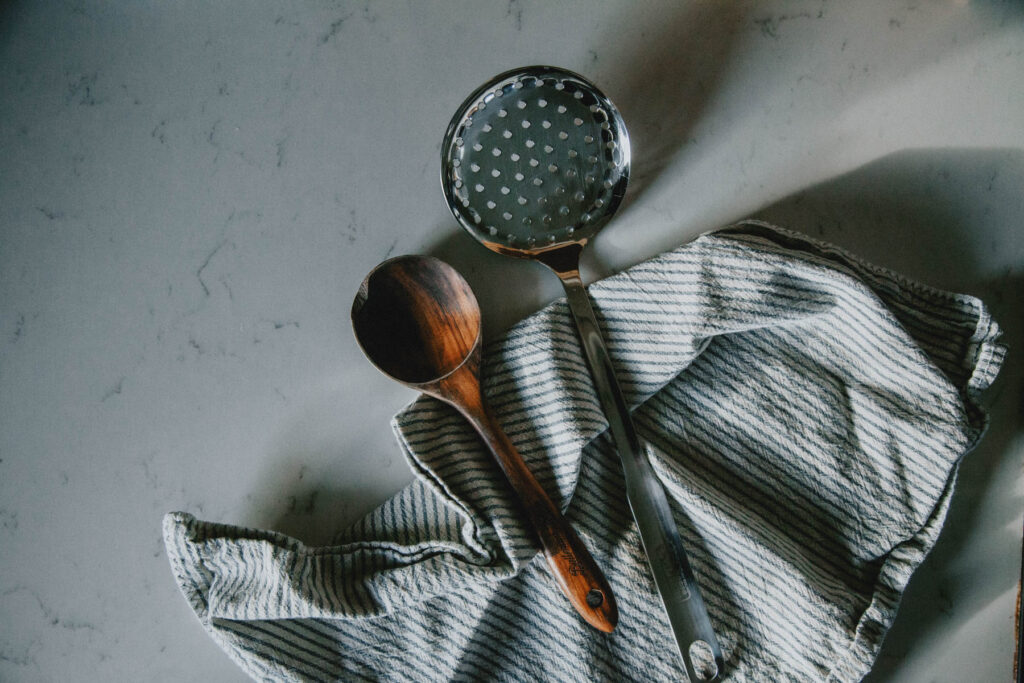
2. A Stainless Steel Slotted Spoon
You can absolutely make cheese with a heavy duty wooden spoon, or whatever other non-reactive metal spoons you have on hand. However, I have found the easiest way to evenly distribute rennet and cut curds crosswise is with a slotted skimmer spoon. No need to be picky about this. Use what you have on hand in your kitchen and see how it works for you!
3. An Instant Read Thermometer
Any decent instant read thermometer will work perfectly fine. If you want to upgrade to something a little fancier and want to make your life easier, you can look into buying a chefalarm thermometer. It allows you to set alarms to go off when the desired temperature is reached. Which can be helpful if you, like me, are notorious for walking away or multitasking and then accidentally overheating the curds! I love my chefalarm, but an inexpensive thermometer will definitely get the job done too.

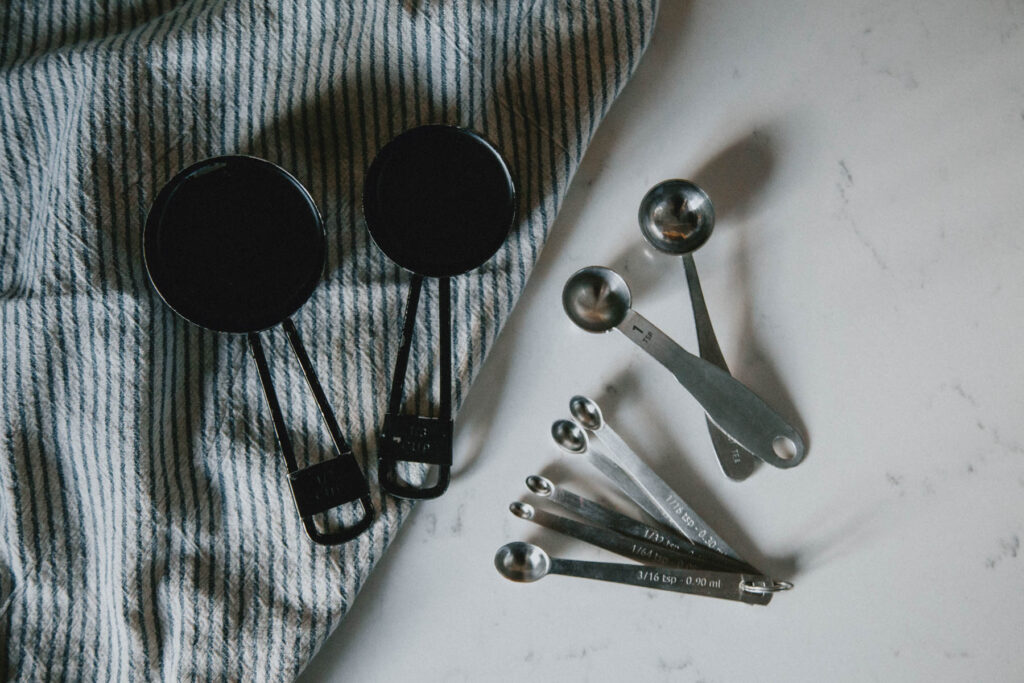
4. Measuring Cups & Spoons
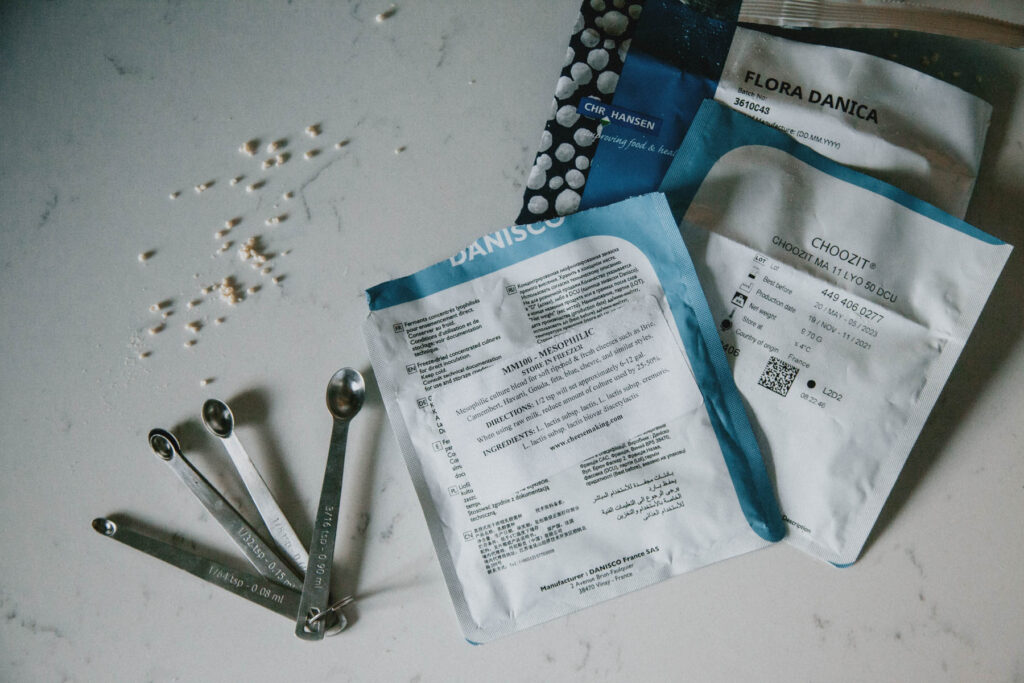
You’ll need some basic measuring cups and spoons for measuring out the culture and rennet. If you are making small batches of cheese you may find you’ll need extra small measuring spoons like the ones sold on cheesemaking.com.
5. A Curd Knife
You can use any long knife deep enough to reach the bottom of your pot full of milk, but when making large batches of cheese a designated curd knife can come in handy! I like the kind that looks similar to a long frosting knife for cake decorating.
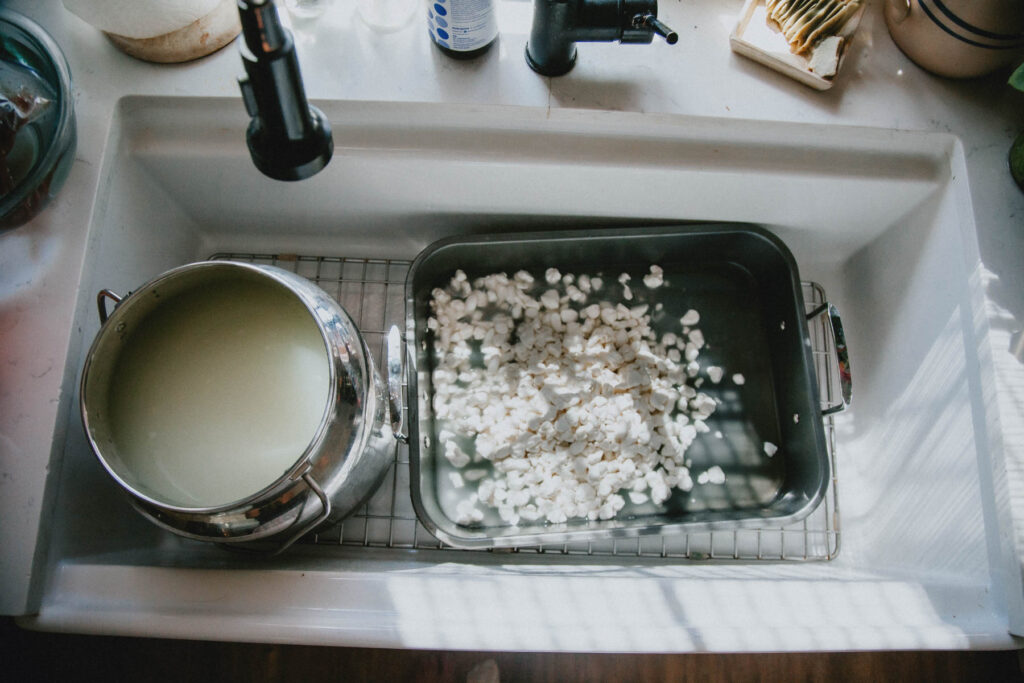
6. A large roasting pan or other deep container
A couple of my recipes call for a deep enough container to hold curds and soak them before pressing, or to start the initial press with the mold submerged in the whey. I just use a large pan meant for roasting a turkey. Alternatively you could use a large tupperware or casserole dish. Any container deep enough to hold your cheese mold will work. I would make do with what I already have in my kitchen, or check out a thrift store for this, rather than buying something new.
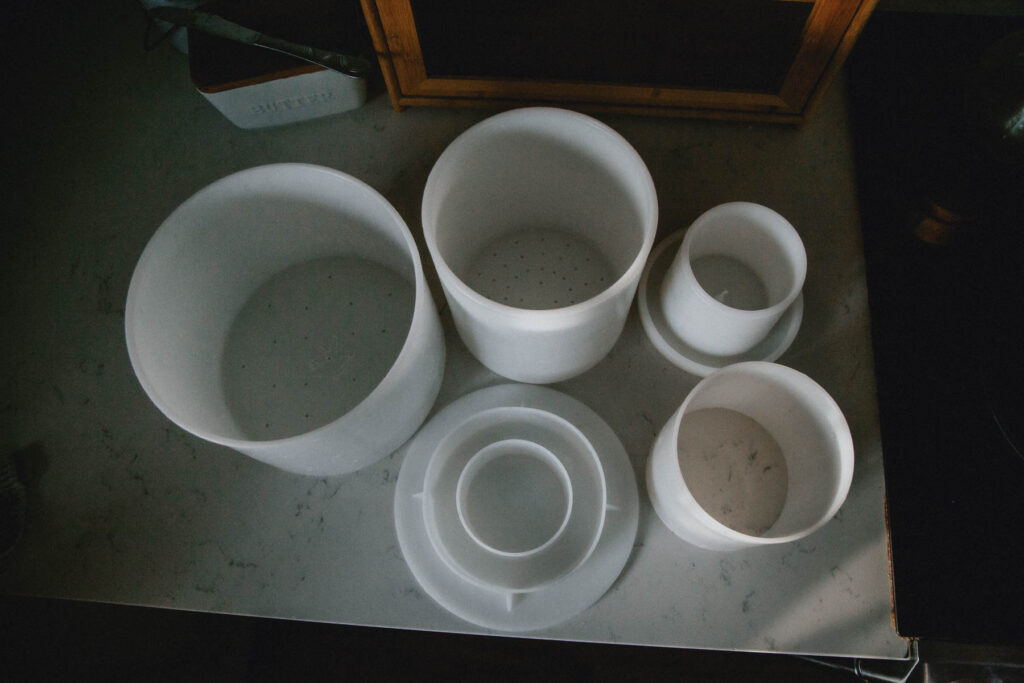
7. Cheese Molds
There are such a variety of cheese molds available for purchase. Most are made from heavy duty, food grade plastic. They have small holes to allow whey to seep out during pressing, and a funny lid called a “follower” that will fit snugly on top and bear the weight of the press. Choose a mold that will fit the amount of curds you plan on making regularly. Or buy a couple different sizes if you think the amount of milk you use will fluctuate.
I typically use a mold that can fit between 5-7 lbs of cheese (about 5-7 gallons of milk), or a mold meant for fitting 2-4 lbs (2-4 gallons of milk). If working with smaller amounts of milk, you could use a mold that can fit between 1-2 lbs of cheese instead. You can always order a few and decide what kind you like best! If you want to practice making cheese to see how you like it before investing in proper molds, you can always poke holes in a food grade plastic container and create a makeshift follower to use instead.
For soft or semi-soft cheeses like chèvre or feta I like to use baskets like these.

8. A Cheese Press
Like molds, there are a wide variety of cheese press types and styles to choose from! The simplest might be minimalistic and weighted with dumbbells or heavy books. Another classic press applies pressure using stainless steel springs. Others are heirloom wooden beauties like a Dutch press. You can purchase a basic press for anywhere between $30-$100 online, or find plans to make your own. You could also invest in an heirloom press or find a vintage one! My cheese press is a simple one I bought off of Etsy for around $60. It uses springs and cranks to add pressure instead of weights. The press you use really doesn’t matter, so long as you can add pressure to your cheeses that is fairly close to the weights detailed in the recipes.
9. Freeze-dried Cultures
Freeze-dried cultures are used by cheesemakers to inoculate milk with a particular desired bacteria. I prefer to use the larger packets of freeze dried culture instead of single use packets so that I have the most control over the final outcome of the cheese. Mesophilic cultures are a category of bacterial cultures that begin acidifying the milk between 68 and 90 degrees Fahrenheit. Thermophilic cultures are a category of bacteria that can handle much higher milk temperatures. Some cheeses, such as mozzarella, call for a mix of both mesophilic and thermophilic cultures. Cultured dairy products, like yogurt and soft cheeses, also use bacterial cultures to inoculate the milk with specific strains of beneficial bacteria.
My Favorite Culture
My favorite all-around culture for most of the recipes in my course is MM100, but if you don’t have access to that particular culture, any Mesophilic culture will do. Most culture packets will specify the types of cheeses they will taste best in, so be sure to read the fine print to decide which type of culture will be best for you!
A Note About Clabber
Clabber is another way of culturing dairy products, and is an ancient method of adding the beneficial bacteria to milk to make cheese. I have played around a bit with clabber and yogurt cultures for cheesemaking, and I plan on learning more! But for beginners and those who want to have predictable results when starting to learn cheesemaking I feel that freeze-dried cultures are the best way to go. Freeze dried cultures are often heirloom cultures taken from the best cheesemakers in France, and the ones I recommend from New England Cheesemaking are always non-gmo, gluten free, and naturally procured.

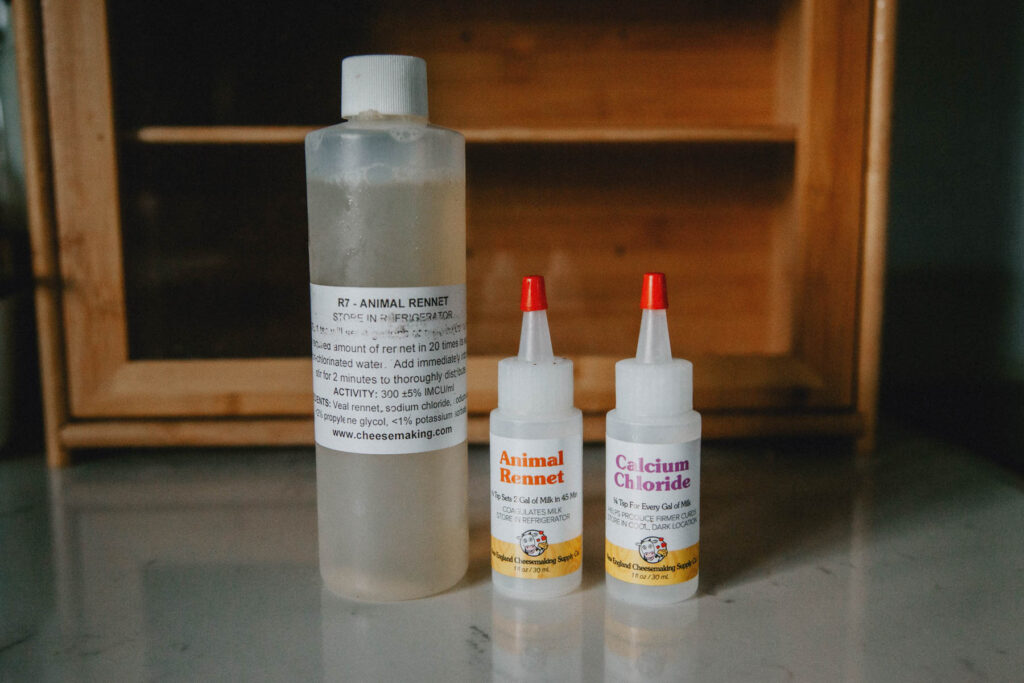
10. Liquid Animal Rennet
I prefer to use single strength liquid animal rennet in my recipes, as I find it works most consistently. After all, milk was always designed to come in contact with rennet in the calf or kid’s stomach as they drank from their mother. To me, it just makes sense to me to do it as nature intended. However, if you have a different rennet on hand (tablets, liquid vegetable rennet, double strength, etc.) just follow the directions on the bottle or package for how much rennet is meant to set the amount of milk you are working with.
Calcium Chloride is an optional supply to keep on hand. Some cheese books recommend it as an additive toward the end of a goat’s lactation, though I have never personally used it this way. I do however like to add it to my saturated brine to help make it last longer. It also helps to keep a cheese like Feta from breaking down in a storage brine.
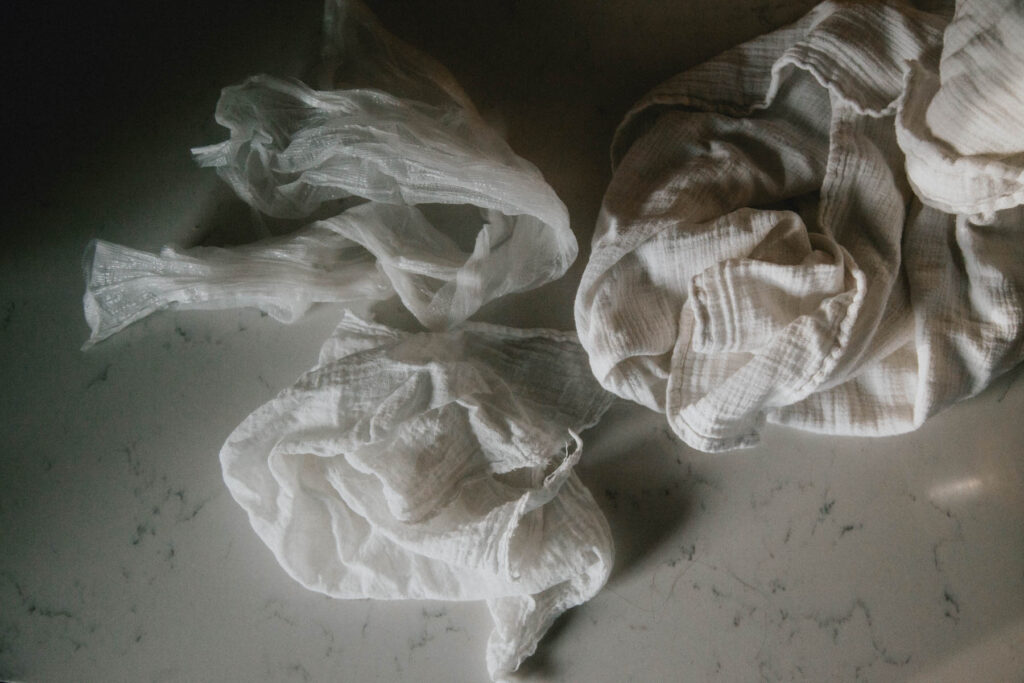
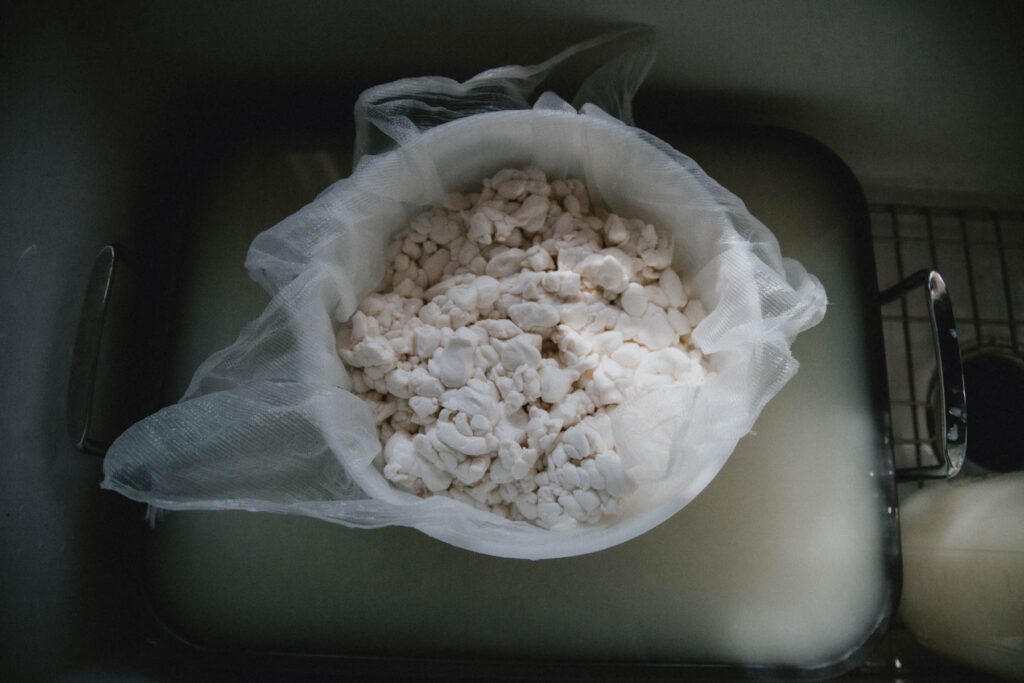
11. Cheesecloth
There are many kinds of cloth you can use for straining curds and pressing cheese. Any fine woven muslin cloth you have on hand should work just fine, so long as you keep it sanitized (by boiling in baking soda and water between uses), and don’t use it for making sourdough or other kinds of cultured foods. I have been known to cut up old muslin baby blankets to use to strain yogurt or chevre! Butter muslin is my favorite cheesecloth to use for hard cheeses. I also recently found an organic, unbleached cotton cheesecloth that is heavy duty enough for cheesemaking. Culinary or craft cheesecloth you might find at your grocery or craft store is usually too thin and porous for straining cheese curds. Try different sorts of cheesecloth to see which kind you like best.
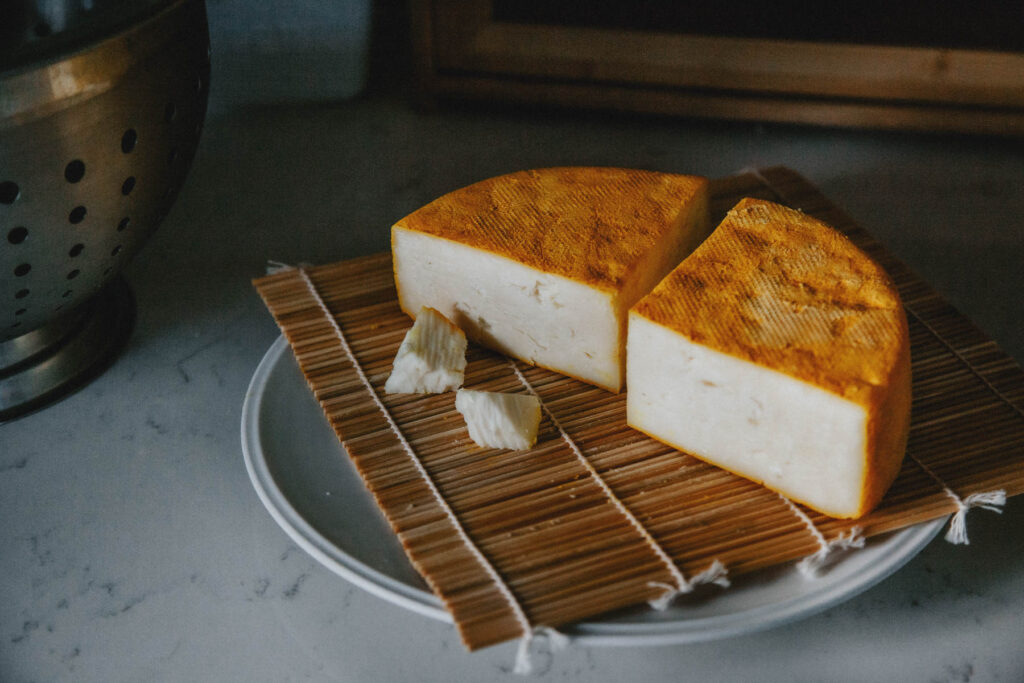
12. Bamboo Drying Mat
After pressing your cheese and before aging it, you’ll need to let it dry. I like to do this on a reed drying mat placed on top of a plate, and covered with a colander to keep flies off. You can experiment with drying the cheese on a plate at room temperature, or in your fridge, depending on your climate.
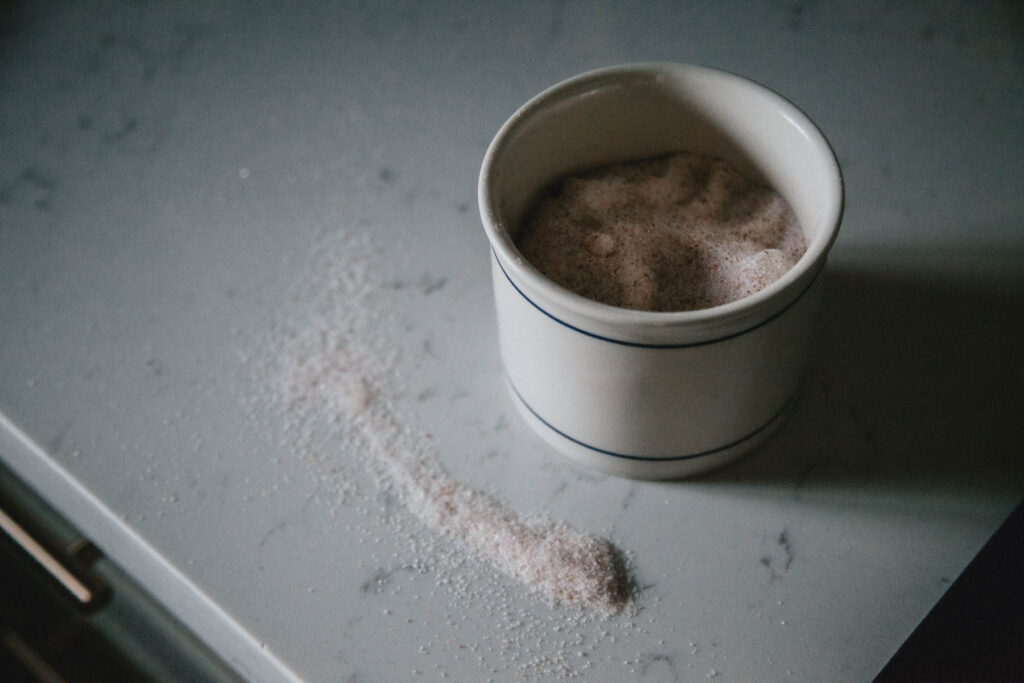
13. Salt
Any non-iodized salt will do for salting your cheese or creating a brine. For adding salt directly to a cheese I prefer to use a kosher salt that’s not too fine or too course. Redmond’s Real Salt, or whatever salt I have on hand for our daily use works just fine in a pinch too. When I make a brine, which requires A LOT of salt, I like to use plain sea salt or pink himalayan. Whatever inexpensive non-iodized salt I have on hand.
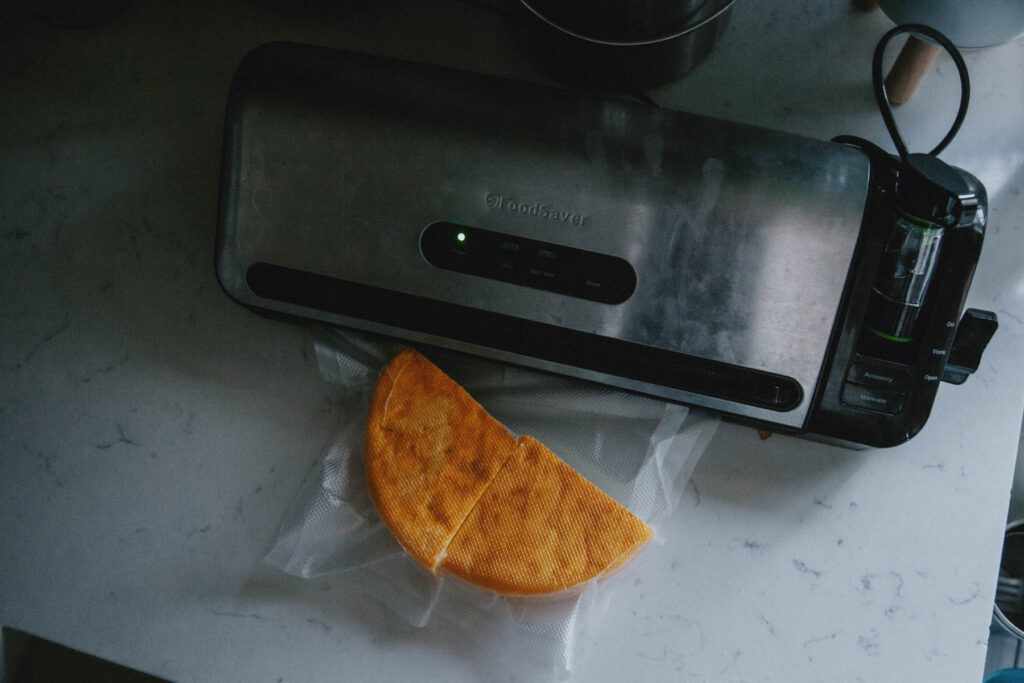
14. Vacuum Sealer
For the easiest, hands-off aging process it’s easiest to use a vacuum sealer for at least part of the aging time. I have a FoodSaver I found on sale at Costco, but any vacuum sealer will do! If you don’t wish to invest in a vacuum sealer you can absolutely age cheeses the old fashioned way with a natural rind. But be aware that this process is more complex and you will need a good aging environment to do so. Many cheesemakers use a thrifted wine fridge and place it on the warmest temperature setting, and use a humidity meter. I have no experience with this, however, and my course has been designed to keep things very simple for the beginner or busy cheesemaker, so all of my instructions are for aging in a tub in the fridge, or in a vacuum sealed bag.
15. Storage Container for Aging Cheeses
My favorite method for aging cheese is a bit of a hybrid between natural rind aging and using a vacuum sealer. I use a plastic storage tub with lid to age the wheels of cheese in the fridge for several weeks until they’ve begun to achieve a nice little rind and great aroma and flavor, and then I move them to a vacuum sealed bag to continue to age in the fridge without needing any maintenance. You can use any food-safe storage container that is large enough to comfortably fit a wheel of cheese. Glass would be great too, but I’ve found it hard to find a deep enough container.
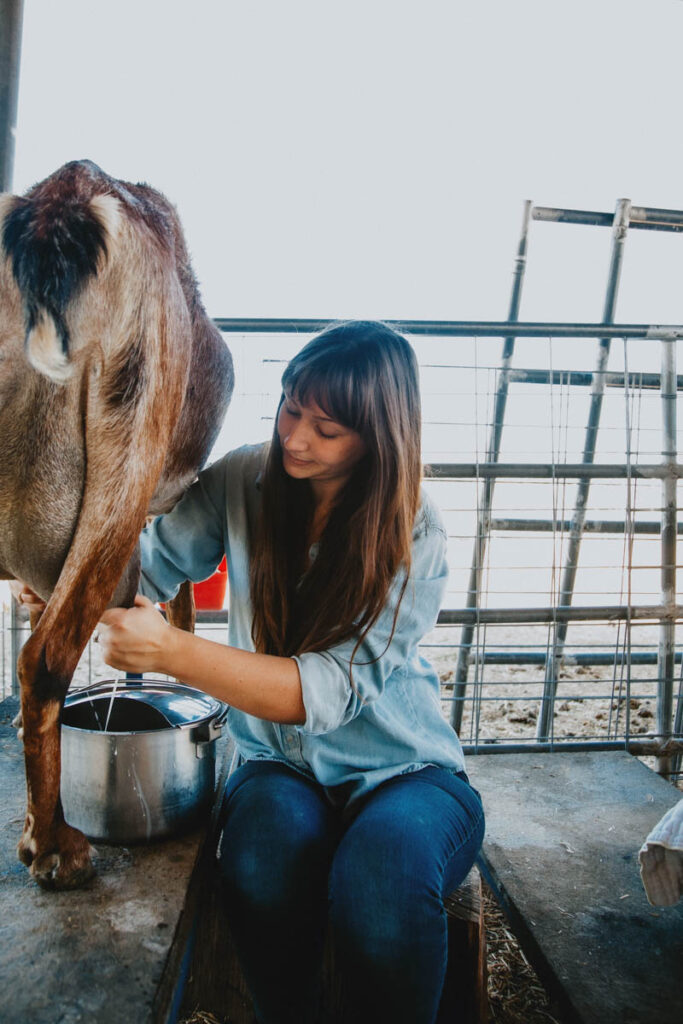
So that’s it! In addition to the supplies above, you’ll need access to fresh goat’s milk – but you already have that in your backyard, right?
What kind of milk is best for cheesemaking?
The milk for raw milk cheesemaking needs to be clean, treated with care, and come from healthy animals. Rapid chilling your milk will allow it to stay sweet longer in the fridge. My animals are healthy and disease tested, my milk is filtered and rapid-chilled, and it tastes deliciously sweet for two weeks in the fridge. Because of this I feel confident using milk that is a few days old in my cheesemaking. This is helpful if you only have one or two goats in milk and need to save up for a few days to have enough to make cheese. My personal rule is if it tastes sweet and is clean, I am comfortable using it! However, the best cheese will always be made with the freshest milk. If you can, use milk that comes straight in from milking, without even being chilled.
What to do if you’re not sure about the safety of your milk?
If you ever are in doubt about the safety of your milk, it’s a fairly simple process to have it tested. Most cities have a dairy lab nearby, and if one is not within driving distance there are many that ship. Testing for me has been inexpensive and very worthwhile and helpful in pinpointing potential problems like mastitis. The FDA requires that raw milk cheeses sold in stores must be aged a minimum of 60 days to avoid bacterial contamination (this amount of time allows for any harmful bacteria to have been crowded out by the beneficial bacterias you have cultured it with). I tend to age my cheeses for 4-6 weeks before trying, but you can err on the side of longer if you wish to be more cautious! Most cheeses will taste their best if left to age for at least 6-8 weeks.

If you are purchasing milk for making cheese, make sure you know the handling methods of the dairy or farmer you are buying from. If they are doing a good job they’ll most likely be very happy to share their process!
All of my recipes and processes are meant for fresh, raw goats milk. I have no experience myself with making cheese from pasteurized, store bought milk, so I really cannot speak to it adequately. I do know that adding calcium chloride is usually a requirement for making cheese with store bought milk, as is making sure the milk has not been ultra-pasteurized. If you do attempt my recipes with store-bought milk I’d love to hear how they turn out!